hair thursday makeover 20
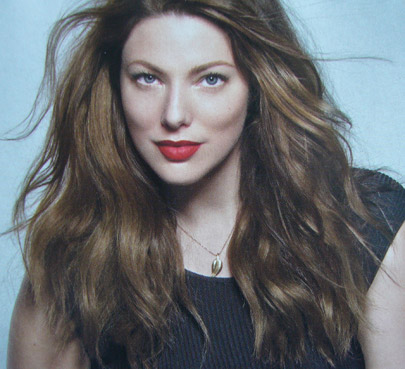
The Retro Glamour Edition!
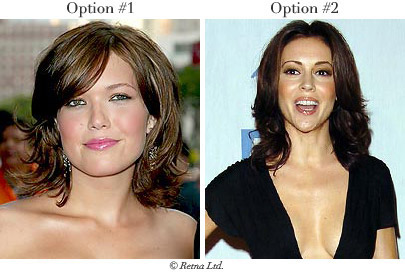
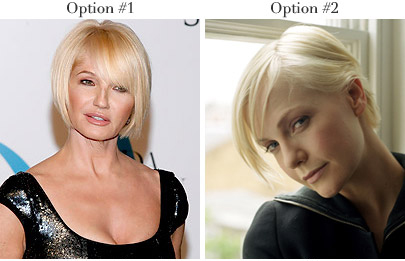
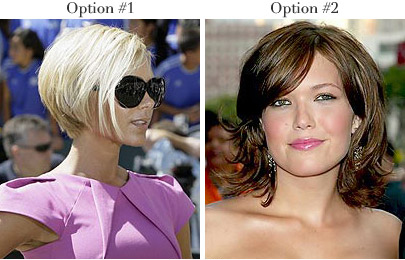
The lovely May wrote me months ago expressing her love for this hairstyle.

From her email:
“I don’t think my hair needs drastic cutting. But for the life of me, I have no idea how to get it to do what I want. Right now I do nothing to it. It’s naturally blond, it’s fine but there’s a lot of it, and it’s stick straight.
Can you suggest something that won’t make me lose much length but will help me look red-carpet fabulous? I need product recommendations and help. I’ve always wanted to look like a movie star of yore, sort of celluloid glamorous.”
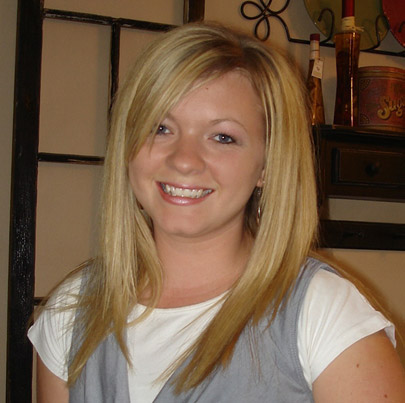
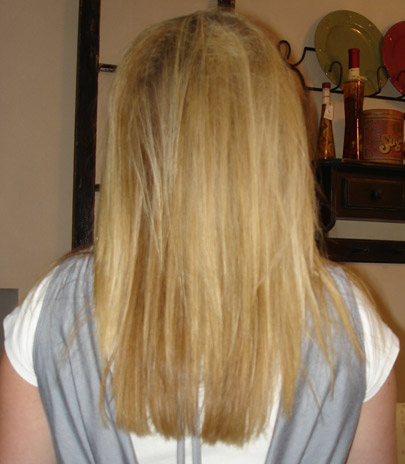
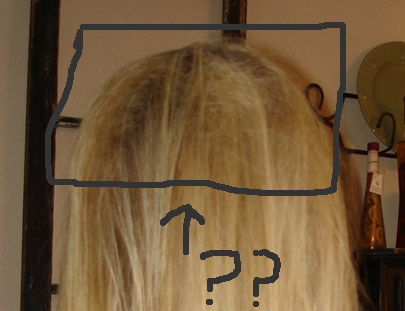
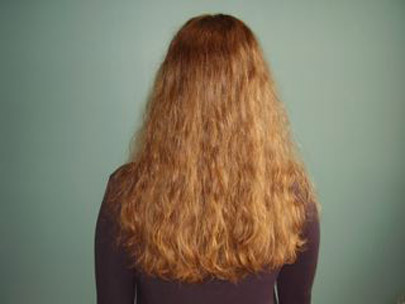
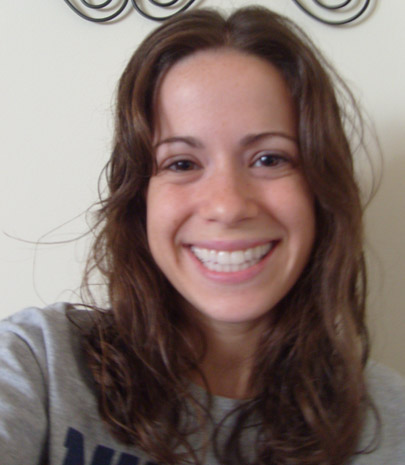
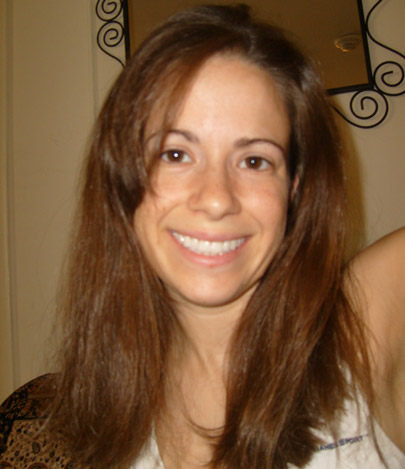
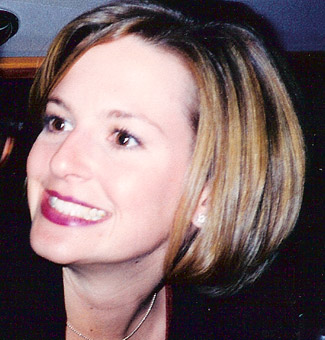
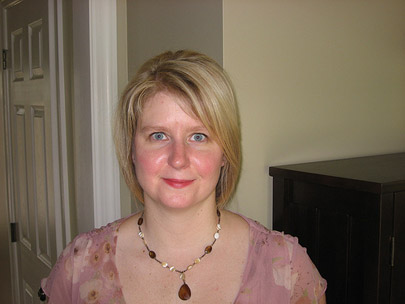
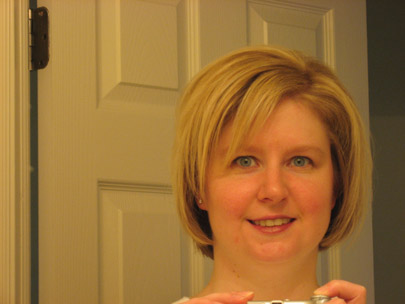
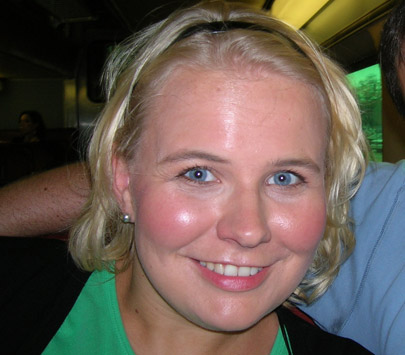
May’s hair:
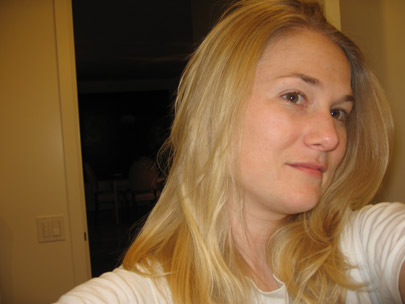
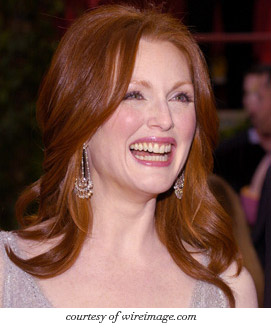
I must admit, I became overly excited at the prospect of such a style for May. To me, she just emulates that old school look. (Red lips! Be sure to wear the perfect red lipstick!) So, I did a lot of research – finding ways to get the pin curl/finger wave look without the all of the hassle.
First off, I found this link, which lured me into the greatest time suck continuum of my life. Oh my god, I could look at these hairstyles all day. Roller sets? Photo tutorials of rolls? Get out of here! (I’ve also been catching up on the first season of Mad Men, which is just fueling this 50’s obsession I’ve got going on.)
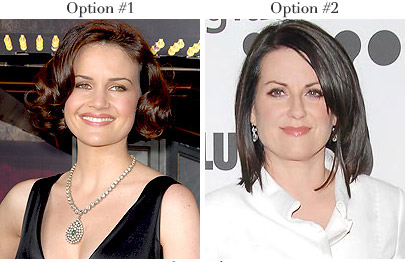
That website is just chock full of tutorials on how to get the retro glamour look, but let’s be frank, those hairstyles take a LOT of time and effort. Right?
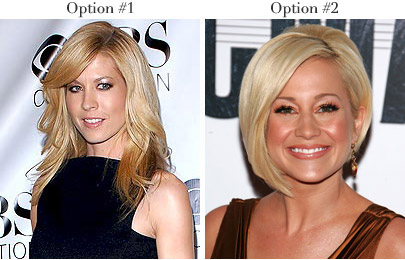
Well, then I came across this link, which described a more modern take. But to me, that photo doesn’t have the detailed wave pattern in the front that really completes the look.
So, I’m going to recommend mixing the two tutorials and meeting in the middle. This should achieve May’s desired look without actually placing pin curls all over her head and taking 1,200 hours.
WWWD (what Whoorl would do) for pin curls/finger waves/50’s hair:
1. Wash and towel dry hair.
2. Apply a setting lotion or wave enhancer all over. I recommend Frederic Fekkai Wave Creating Spray, it works really well on damp hair and smells great. (I use it with the curling iron.)
3. Going from ear to ear (up and around the head), section off the front 1-2 inches of hair and twist in a clip.
4. Blow dry the remaining hair while brushing with a GOOD boar bristle brush (to close the cuticle).
5. Curl the dried hair with a 1 to 1 1/2-inch ceramic curling iron, wrapping the hair around the barrel like so:
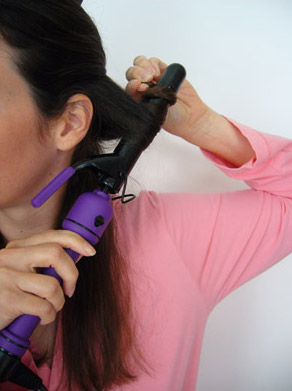
6. Continue curling. Voila, three-quarters of your hair is done. Now, loosely pull the curled hair into a band to get it out of the way.
7. Now, we’re going to finger wave the front to give that specific retro look. Pull the front hair out of the clip, making sure it is barely damp – not too wet, not too dry. The old-fashioned way is detailed here (ohmygodwhat?) OR you can buy some hair clamps at the local beauty supply store, and place those clamps horizontally like this or this and allow the hair to dry/set OR (this one is the easiest, fastest and of course, most expensive!) buy one of these.
Any of these options will work, depending on how much time you are willing to spend. (Me? If this were a hairstyle I was planning to create multiple times, I would buy the triple-barreled iron. Only special occasions? I would use the clamps.)
If you go with the three-barreled iron route, start towards the top of the hair, and work your way down, starting where the previous curl ends in order to keep the waves symmetrical. In fact, if you buy the curling iron, you can use it for the entire head of hair. (Thus rendering my detailed, step-by-step instructions completely useless. Am crying.)
Okay, then! Am I forgetting anything? What about you sessy ladies? Do you have any tips for May regarding a retro look? Do tell!