Well, it took 45 years and an international pandemic to make me embrace my natural hair texture, but here we are!
I’ve spent the past few months learning to work with my natural texture instead of working against it and it’s quite liberating (and time-saving!) if I do say so myself. This post will detail my updated step-by-step hair routine (which has changed a fair amount), including tips on how to create the waves you want – even on natural, air-dried hair.
Interested in all of my favorite hair products and tools? You can find my list here!
Learning How To Embrace My Natural Hair Texture
I wasn’t really planning on switching up the way I style my hair, but I found myself growing increasingly tired of blow-drying my hair smooth and then adding waves with a curling iron every single time I styled it, especially because I was stuck at home and not seeing people. I mean, what was the point? Ain’t nobody got time for that! (Although let’s face it, we had all the time in the world.) As you can see from this video, the way I previously styled my hair took a fair amount of time.
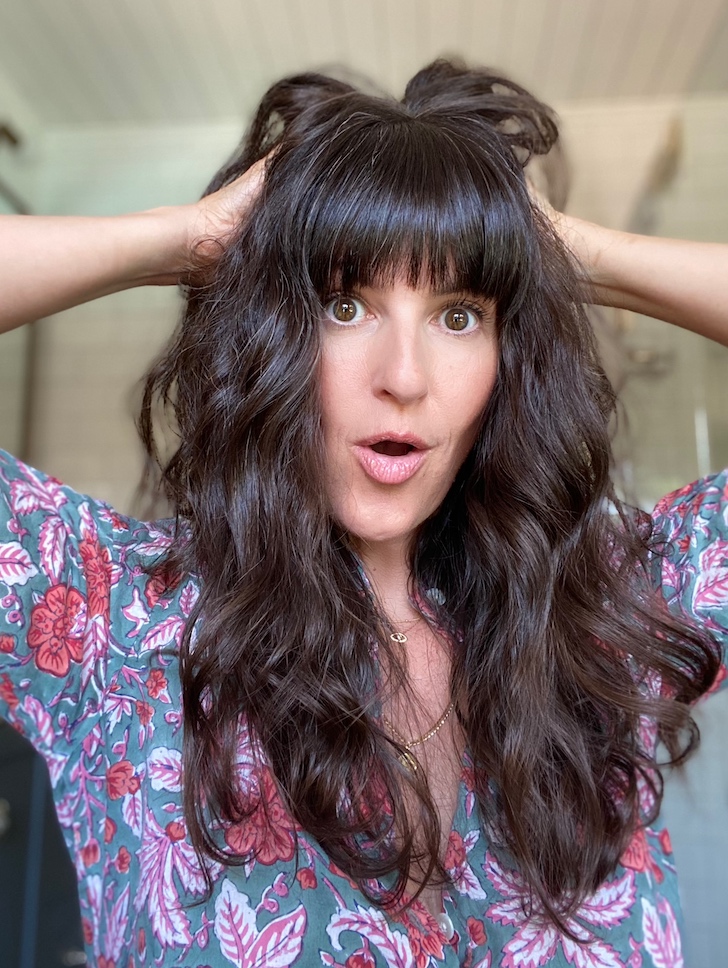
So I started experimenting with air-drying my naturally wavy hair. Now, as many of you know full well, the grass is always greener for most, and you can count me in on that sentiment. My natural waves have never been a favorite of mine, and although I prefer a “lived-in” look, my waves always looked a little frumpy and frizzy to me.
However, I did love the freedom of stepping out of the shower, applying a bit of product to my hair, and moving on with my life. Well, I liked it so much that I started playing around with techniques and found a blissfully happy medium for my hair that involves way less heat and time!
I’m hoping whether your hair has just the slightest bend or full-on curls that this method can help you save time and some heat damage.
My Step-by-Step Natural Hair Routine
1. Wash, condition, and towel-dry hair.
2. Comb through with a wide-tooth comb. You don’t have to do this part if you are trying to enhance or boost your natural wave or bend. However, I prefer my waves looser, so I comb through to relax them.
3. Blow-dry my bangs because those crazy things need serious help. #cowlicks #majorcowlicks
4. Apply one of three products, depending on my mood.
EVOLVh WonderBalm
Captain Blankenship Mermaid Hair Oil
Sahajan Hair Oil
Apply to damp hair and then let air dry!
CAVEAT: I know some of you don’t have the time to air-dry. So I suggest washing your hair in the evening and letting it air dry before bed. I prefer this method for most days. When you wake up the next morning, continue with the steps!
5. Once hair is dry, add just a few strategically-placed waves with a curling iron that has a reverse tapered barrel like this one. (If your hair has tighter curls and coils, a typical tapered barrel will work best, but for those straight/wavy types, the reverse barrel is the ticket!) This keeps your waves from being too tight on the ends and gives the most lovely lived-in look. Be sure to check out the video below for my step-by-step instruction on creating the waves.
6. Apply a balm or pomade to add texture and separation to your hair (my favorite is the Innersense Whipped Cream Texturizer) and voilá, you’re done!
This method saves so much time while also saving your hair from tons of heat damage due to repeated blow-drying.
My hair has never been happier and I’m not sure I’ll ever go back to my previous way of styling. Viva la natural texture! #withjustabitofcheating
Here’s a step-by-step video tutorial of my routine from stepping out of the shower to the finished product. Give your hair a little break and embrace that natural texture – you just might end up loving it!
Nina Strommen
August 20, 2020 at 9:15 amI love this!! I have very similar hair – length and texture- and have been learning to embrace my texture since Mar. I style mine similarly- blow-dry and make waves, but no bangs. I’m so glad you are sharing this, as I’m not as good at doing my hair! My only issue is that it takes a good 3+ hrs to air dry! So I often take my final product with me to work (I’m a nurse, so still doing in.). I have to add my random curls later.?
Amanda
August 21, 2020 at 10:34 amSo great! I had been wondering for a while if you might try this out, from the few pics I’ve seen of your natural texture it is sooo lovely. I embraced my waves a couple years ago and can’t believe I was formerly so beholden to the flat iron. There is a whole world of Curly Girl Method knowledge on the internet if you’re interested in that particular rabbit hole!