This post is sponsored by Sally Beauty. Thanks for supporting this site!
I’ve reeeaaally been into messy waves lately. Like seriously slept-on, super-loose, 3-day-old wave waves. Up until this year, I’d been doing my go-to clamp curling iron look, but it became a little too curled for my ever-changing taste. I wanted the ends to look a little grungier – like the waves you really get at the beach and can never be duplicated no matter how hard you try. So, after some hits and misses, I think I figured it out, and that means, yep, tutorial time, yo!
I only used two tools for this tutorial and no products. I didn’t want anything to make my hair seem too smooth. First off, I used the CHI Elite Ceramic Dryer and then the CHI Elite Ceramic Curling Iron.
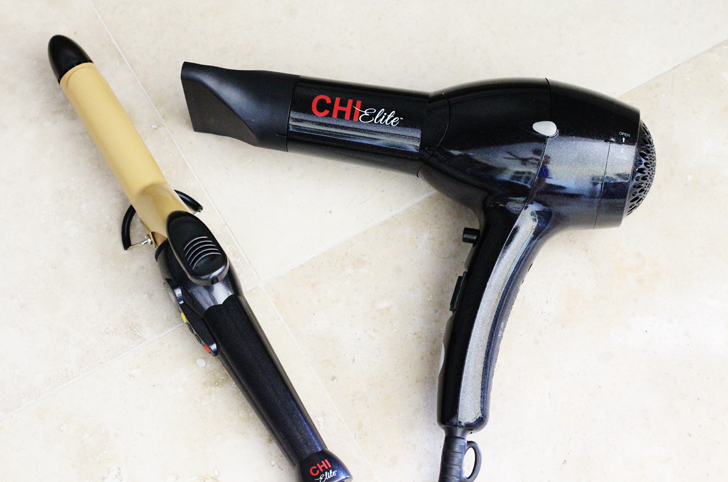
The CHI Elite curling iron is my new favorite, and I NEVER thought anything could surpass the love for my good ol’ trusty Hot Tools iron. The CHI Elite iron doesn’t seem to clamp down quite as hard as the Hot Tools, so it’s easier to achieve this look without snagging hair.
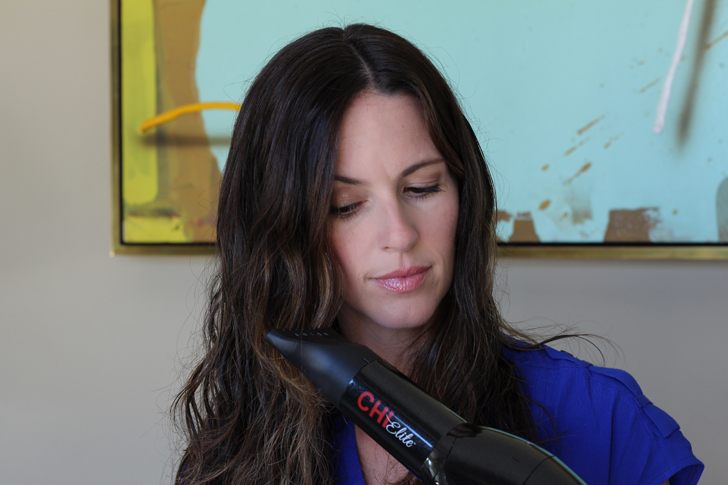
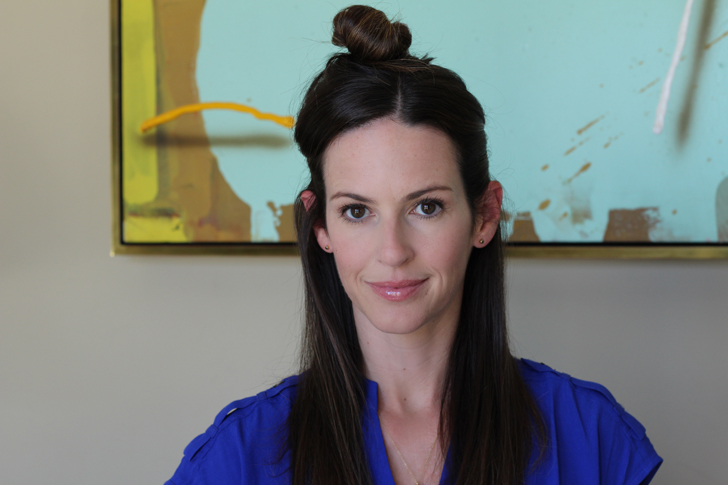
Let’s get cracking. First off, blow dry your hair. If you have wavy hair, you are already one step ahead of the game. You can dry your waves with a diffuser and then use the curling iron on random sections of hair to get this look.
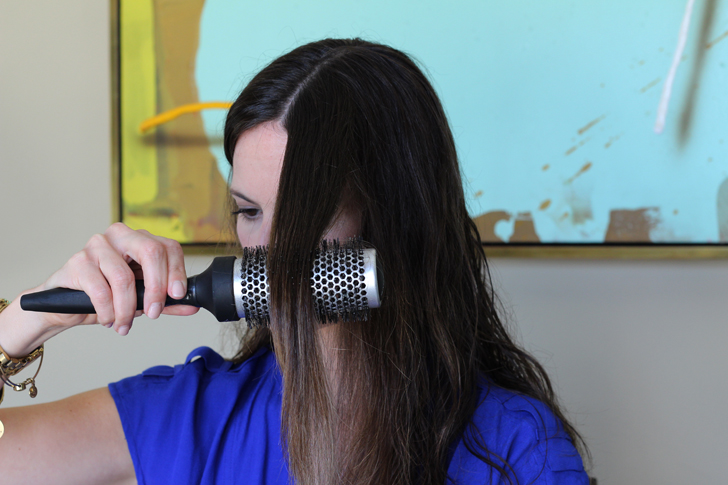
However, I blew my waves out with a round brush for those of you who have straight hair or don’t particularly like your God-given waves. (I’m not super stoked with mine either.)
Once your hair is dry, section the top half off and clip out of the way.
The curling iron technique is the exact same as my video tutorial. (It’s super detailed if you are new to the technique.)
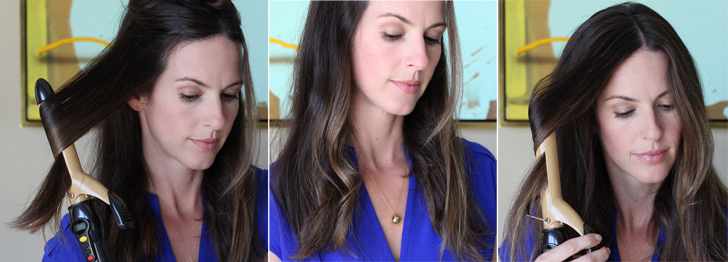
Clamp down mid-shaft.

And then rotate the iron 180 degrees. Release the clamp every so slightly and move down the section of hair. (Once again, watch the video if you are confused.)

Now HERE’S where things are different. Instead of working your way down the hair section with the iron, release the section with 3-4 inches remaining uncurled. As you can see below, the remaining hair never gets curled.
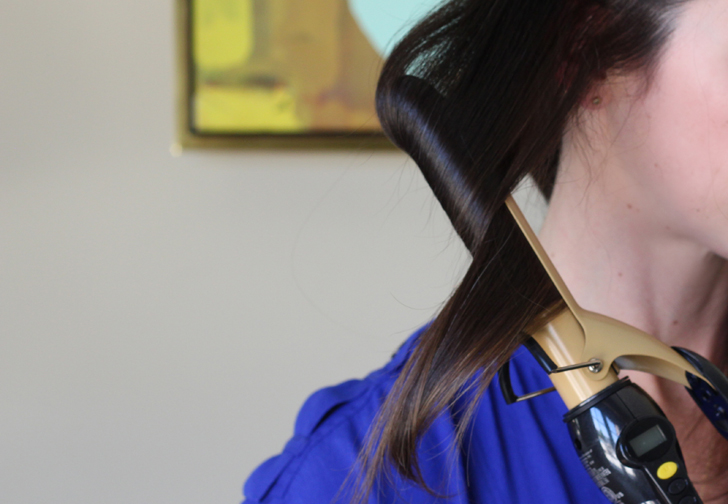
What that does is create a bend in the middle of your hair, but the ends remain straight and not so perfectly curled.
Continue working throughout your hair, making sure not to curl the last 3 or so inches of your hair. You can also alternate the direction of the curl to switch things up.
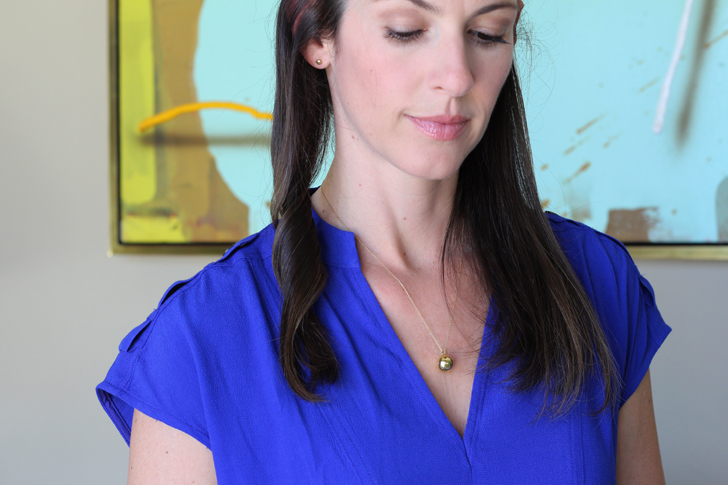
After all the waves are finished, run your fingers through your hair and mess it up a bit. Pull on the ends to make it messy and imperfect.
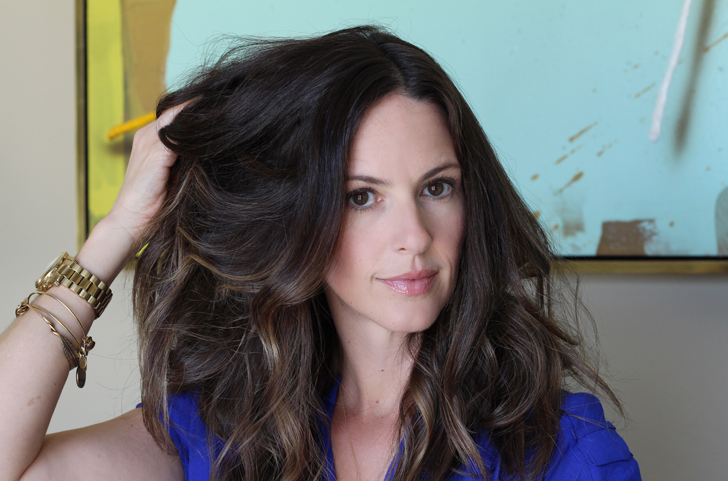
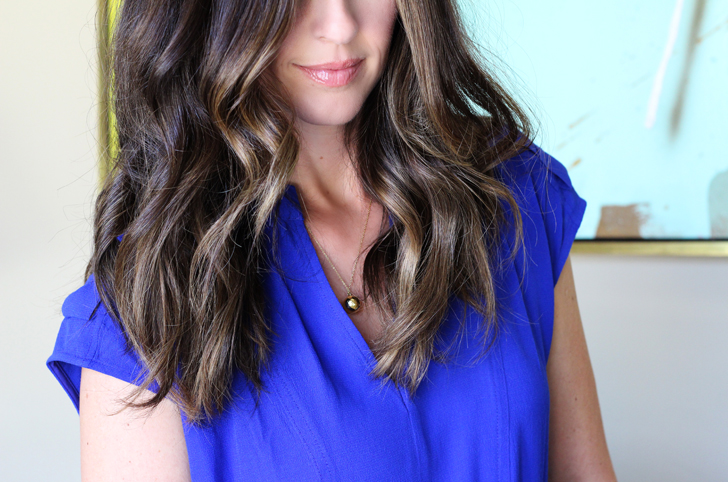
Voila! Super casual, messy waves. These even look better on the second and third day.

Need some new styling tools for your arsenal? Over 100 styling tools are on sale at Sally Beauty’s Styling Tool Blowout during the month of October, and 100 randomly selected winners will receive a Sally Beauty gift card to purchase a styling tool of their choice. You will be automatically entered when you make any purchase in store at Sally Beauty or SallyBeauty.com using your Sally Beauty Club Card OR you may enter online here. Good luck and good hair.
Christina G
October 7, 2014 at 12:00 pmThank you for the lovely tutorial and might I add that the make up look is on point! =0)
Maggie
October 7, 2014 at 3:12 pmLove the wavy look. What is the lipstick??
whoorl
October 11, 2014 at 8:31 amThe lipstick is called Twig by Beautycounter, it’s my new favorite!!
http://bit.ly/1s4YvhH
Amy Hawk
October 8, 2014 at 4:14 pmLove the beach look! My 15 yo daughter and I will be thrilled to win!;)
Michele
October 8, 2014 at 7:56 pmLove your tutorials!
Thank you for inspiring me to try some new looks.
What is the best way to wear your hair to sleep to keep it looking great the next day? any tips?
whoorl
October 11, 2014 at 8:31 amHmmm, good question! I don’t really do anything special – I think the messier, the better!
natalie
October 9, 2014 at 10:25 amI love this look. I wonder if it would be disastrous to forgo the curling iron and wrap hair in curlers (leaving ends unwrapped) before bed? I’ll give it a go.
whoorl
October 11, 2014 at 8:32 amGive it a try and let me know!
Stacey
October 10, 2014 at 2:21 pmYou have THE best hair.
whoorl
October 11, 2014 at 8:32 amThank you!
brianne
October 12, 2014 at 8:30 pmThanks for the tutorial, Sarah! I’ve been using it and LOVING how my hair looks!!
Kristen
October 14, 2014 at 3:58 pmMy hair is finally long enough to make this work! And so, I now have a new hairstyle … on the days when it’s not in a ponytail. Thanks!
Mary
October 15, 2014 at 5:59 pmYou and I have pretty much the exact same hair and coloring.
I love this tutorial!!
You look beautiful BTW!!
Christina
October 28, 2014 at 3:36 pmHi, just found your blog and love it! I was just curious, what size curling iron is the Chi in this tutorial?
whoorl
October 28, 2014 at 4:32 pmHi Christina! It’s a 1-inch barrel. :)